
BODY
There is a ton of surface Rust on the Body so I decided to fully restore it. There are only a couple bad spots that are fully rusted through. I hate body work and paint but I did it myself anyway. There were a lot of holes in the floor that need to be repaired. I am not doing any special paint job, it will just be tan to match the fiberglass siding on the camper.


There was a lot of rust in the Floor Pan and holes through it. The sheet metal in the back of the RV isn’t too important because it will have another layer of metal and wood on it when it is done. I repaired the wholes in that part of the floor with 1x1” squares. I just welded them to the top or bottom of the floor depending on where the hole was.
I had to cut out some big sections that were rotted away in the cab and weld in larger plates. I wasn’t too worried about how it looked cosmetically because it would all be painted and covered with Dynamat or something similar.


There is an extra frame welded onto the back of the original van’s frame. The bathroom and closet sat on the extension.
The welds were broken and the Extension was sagging down 2” over a 4 foot span. It was too difficult to try to bend the frame back up so I welded a new frame onto it instead. I also repaired the broken welds.
The piece of wood in photo is sitting on the van frame so that you can see the huge gap were it is sagging down.


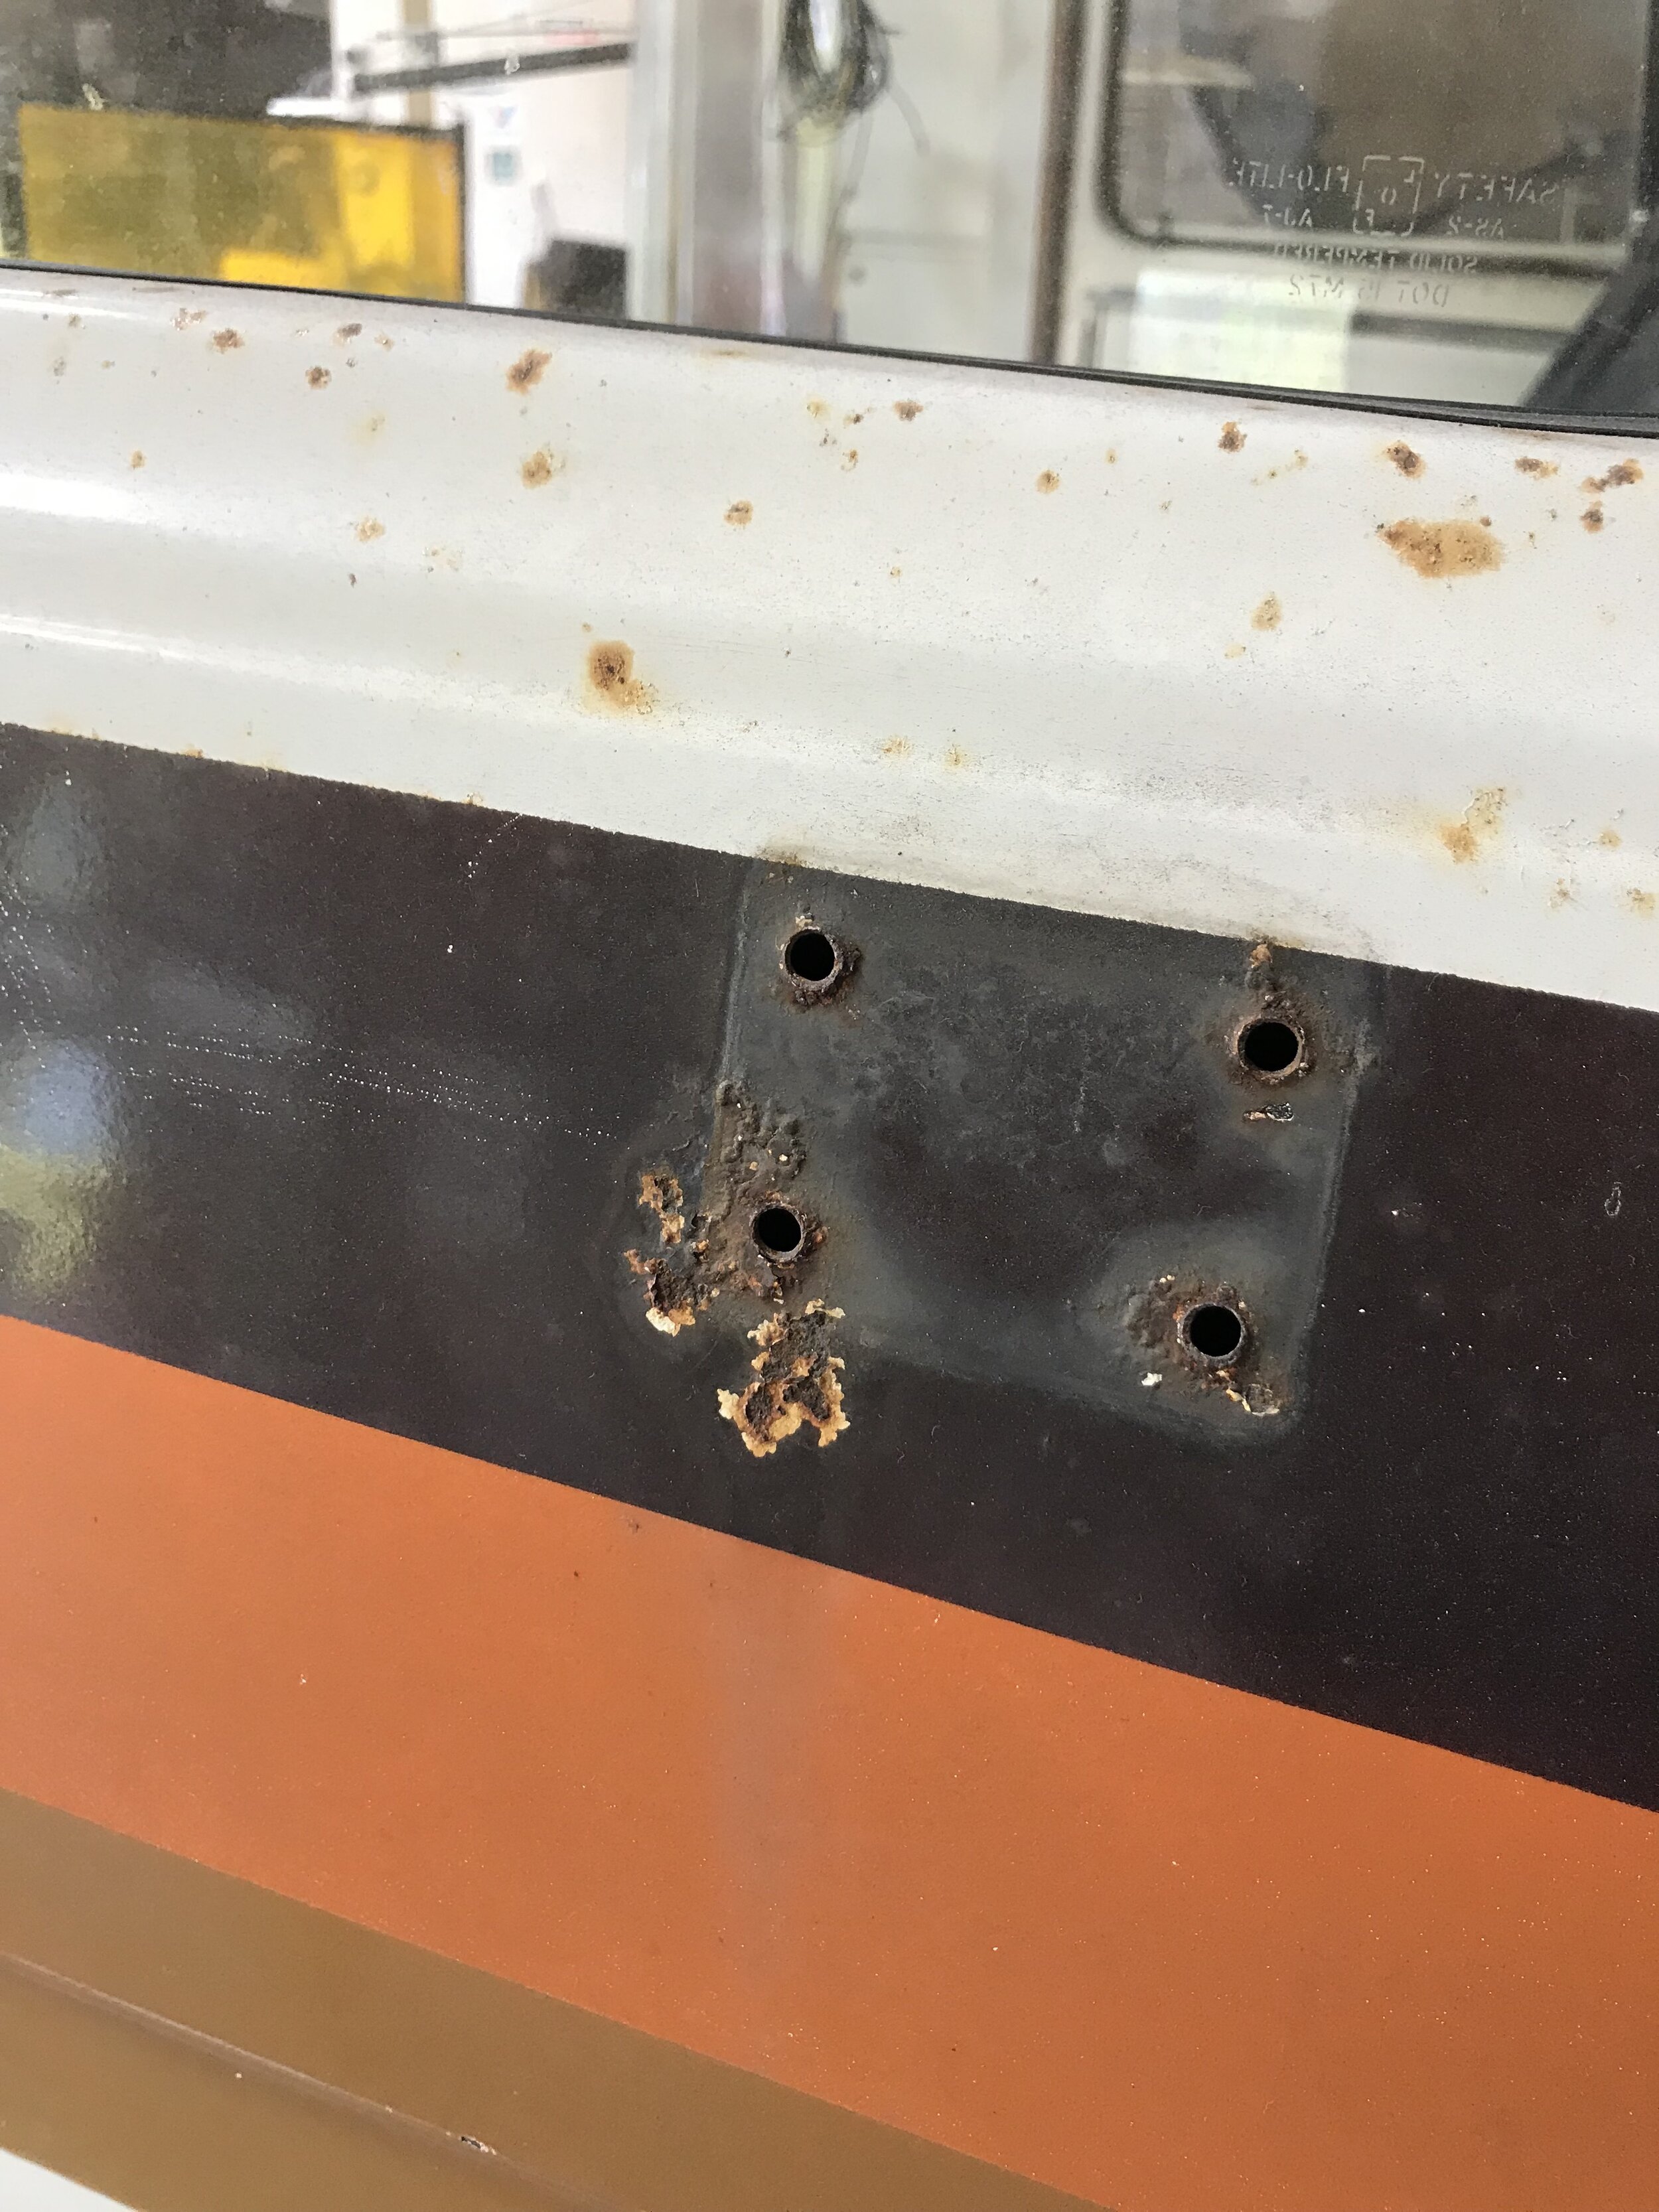
The bottom Radiator Mounts were completely rotten so I had to replace them. They were pretty hard to find but I ended up ordering mounts for a 1967-72 C10 truck even though they are for a 1978 G30. They ended up fitting perfect and they even had the little dimples in the right spot to line them up with the old ones.
The old mounts were welded to the frame so I had to cut them off with the grinder. I wanted to do this before the van left to get painted so they would get painted too. Even though the new ones were galvanized I still welded them to the frame even though the gas is toxic. I test fitted the old radiator and everything lined up perfectly.


I towed the RV to an Amish Sandblaster and he did the whole underside, topside and engine bay. He did a great job, he even blasted and painted springs, struts, the transfer case and everything else.
Some of the sand punched through the thin spots so I have to fix those next. By the time the flatbed truck brough the RV the 30 miles back to my house it had piles of sand/coal on the floor that shook out from behind the dashboard.


After I got it back from the sand blaster I started on the body work. I had to fix the big hole in the front fender. Then I sanded the cab, hood and 3 panels that came off the front. I built a spray booth around everything to protect the rest of my workshop. I’ve never used a spray gun before so I ended up practicing on the small parts and moped parts first. Then a month went by before I sprayed the cab the week of Christmas 2019.


I finally finished painting the cab. I primed it first with Transtar K2 primer. Then I wet sanded with 400 grit sand paper. I went over it twice when I wet sanded because the primer had a weird texture. Then the top coat was the same paint as the moped (Omni). It turned out pretty decent for my first time painting a vehicle. I’m currently replacing the driver’s side vent window, all the window seals, windshield seal and door seals.


I bedlined the floor pan in the cab. The gloss finish looks bad in the photos but it looks much better in person. It rolled on easily and feels pretty solid. I also cleaned up the running boards.


I made an over-the-top custom Winch Bumper for the RV. I started by making the whole thing out of foam core to get the measurements and shape. Then I 3D modeled it on Fusion 360 to get the exact angles and measurements I needed to give to the steel supplier. My steel supplier cut and bent everything to shape so all I had to do was weld it together. I started in February of 2020 and finished it in February 2021.


After I got the steel and some free time I started with the two main brackets. I bolted the angle iron to the mounting holes on the frame and tacked the giant 3/4” steel plates to them. Next I had to tack the bottom plate to the two brackets but first I had to drill the mounting holes for the winch. Pre-drilling holes on a drill press is way easier than trying to drill them with a power drill after the bumper is welded up. After the holes were drilled I tacked the bottom plate to the brackets.
Then I had to drill the holes in the front of the bumper for the winch rollers. After they were drilled I tacked that to the brackets and bottom plate. Then I had to cut the top plate to size. I had to make a new template because the old one was wrong. I cut it down with a cut-off wheel on my angle grinder. Then I made the grill guard that will be welded to the top plate.
Before tacking the top plate on I had to drill some holes in it. I made an access door on the top of the top plate that can be removed to work on the winch. I drilled the 7 holes and welded some bolts from the underside of the top plate. I had some scrap diamond plate I used for the cover. Then I drilled a hole so the KC spot lights on the grill guard can be wired though the bumper.
I’m also using the old side supports from the old bumper. One of them was cracked so I had to weld the cracks. I welded threaded rod on the inside of the front bumper so they can be bolted on easily. The run through the front of the body and bolt to the frame behind the wheel. I tried to take photos but they are hard to see.


I finished tacking up the bumper in February 2021 but I didn’t finish welding everything until May 2021. I had to add supports inside the bumper first. I found some scrap triangles that were already cut to the perfect size. I also ordered weld-on shackle mounts from ebay.
After everything was welded I had to grind all the welds down smooth. Then I sent it off to get powder coated.


After powder coat I had to install the winch first before mounting the bumper. The rollers had to be bolted on first because the winch ends up so close to the front of the bumper it blocks the roller bolts. Then the winch bolted on and then I had to find a spot for the control box. I forgot to do that before powder coat.
Luckily it fit perfectly inside the bumper next to the winch. I drilled the holes and used the mounting brackets that came with it. When using the winch you just have to reach behind the bumper from underneath and plug in trigger. It worked out perfectly. When I bought the battery connectors I made sure to get one with an extra terminal for the winch. I connected the wires and everything worked! I still need to order some shackles.


The Wheel Post! Believe it or not the wheels were a huge obstacle in this build (mostly because of Covid’s timing).
My original plan was to sand blast and powder coat the original rims and get some all terrain tires. So I took the tires off the rims and had them disposed of so that I could get the rims powder coated. After I took them off I did some tire research and realized they don’t make A/T tires for 16.5” rims. They are an obsolete size that only had one tire option. These were some Firestone road tires that basically looked like bus or semi truck tires which would be bad for offroad or snow.
This meant I had to buy some new rims, either 16 or 17 inch. I went with 17’s so they would clear any rotors or drums. I wanted some quiet all terrain tires so based on my research I chose the BF Goodrich KO2’s.
I wanted black rims so there was basically one choice for aftermarket aluminum rims. Ordering aftermarket rims for a dually is a joke because you need 3 different rims. You need 2 fronts, 2 outer rears and 2 inner rears. The aftermarket rims are not reversable like the stock rims so also need a stock wheel to use as a spare.
I ordered some fancy fronts and outer rears from Summit Racing. Their website said they would ship within 2 weeks, that was a lie. The website was automatically set to show they would ship 2 weeks from the current date. So every day they say a date that is exactly 2 weeks away when the truth was they were out of stock and coming from China which had major shipping delays from Covid.
I also need 17” steel inner rears. Luckily in like 2005 the Silverado had 17” wheels that were the same bolt pattern and Dorman made reproductions. I ordered 3 of those so I would also have a spare. They were also on major backorder from China.
After 3 months of changing backorder dates went by I decided if the 3 Dorman wheels came in first I would order 4 more and cancel the fancy aluminum rims. I ordered the wheels in April 2021 and the first 3 Dorman wheels came in September. Luckily the distributor must have gotten a lot more than my 3 from China so when I ordered the additional 4 they came right away. Then I had them powder coated black which took a week or two.
Way back in April when I ordered the rims my tire guy said he had plenty of the KO2’s in my size in stock so I could just get them when the wheels came in. We didn’t realize it would take over 6 months so when the rims came in he was out of the tires. So then I had to back order those and it took like a month or two. I finally got the wheels and tires mounted and ready to go.
Dually wheels have a little ring that is tapered for the lug nuts. These rings needed to be painted so I gave them to a friend with the extra paint from the cab so they would match subtly. He didn’t get them back to me until April of 2022 so an entire year went by with the RV up on jack stands.
So if you skipped that ridiculous story the important details are:
Rims = 17” Dorman OEM replacements - 6.5x8 bolt pattern - 939-236
Tires = BF Goodrich All-Terrain KO2’s - LT255/70R17
The back tires are too close together so I still need spacers to go in between them.


