
FRAME
After disassembly I did some frame work. The underside of the frame was completely smashed. It looked like the previous owner bottomed out and crushed the underside of the frame. This damage prevented the Kickstand from working because it would miss the frame swing all the way forward. So then it looks like they welded a bolt to the bottom of the frame to catch the kickstand. Then they bottomed out again and smashed the bolt up so that the kickstand didn’t work again.


The first thing I did was I cut the smashed part off. Then I used a piece of string to measure the sheet metal to see how long it was supposed to be. Then I made a template from paper to figure out how I was going to cut the new piece of steel. Then I welded it on and ground down the welds with my angle grinder.


I want the moped to have a cafe racer/scrambler look so I scraped the old Seat. I had a custom one made from someone on Etsy. I just sent the dimensions and they made the seat. I wanted it to rest on the cargo rack but the old seat post stuck up too far. I was afraid to cut it down and weld it because that seat post is actually the gas tank. I took it to my steel supplier and they had one of there welders do it. It turned out pretty good!
I’m not sure how I want to place the seat yet, it can go all the way forward or all the way to the back.


After all the metal work was done I had the frame sandblasted. Coincidentally, my sand blast dude’s dog had puppies and when I went to pick up the frame he gave me the last one! She’s a mutt named Lucy and she is going to be my travel companion.


I sand blasted all the small parts in my blast cabinet. Then I primed them with the same primer I used on the RV cab. I painted all the small pieces with a single stage gloss black paint from Summit Racing.


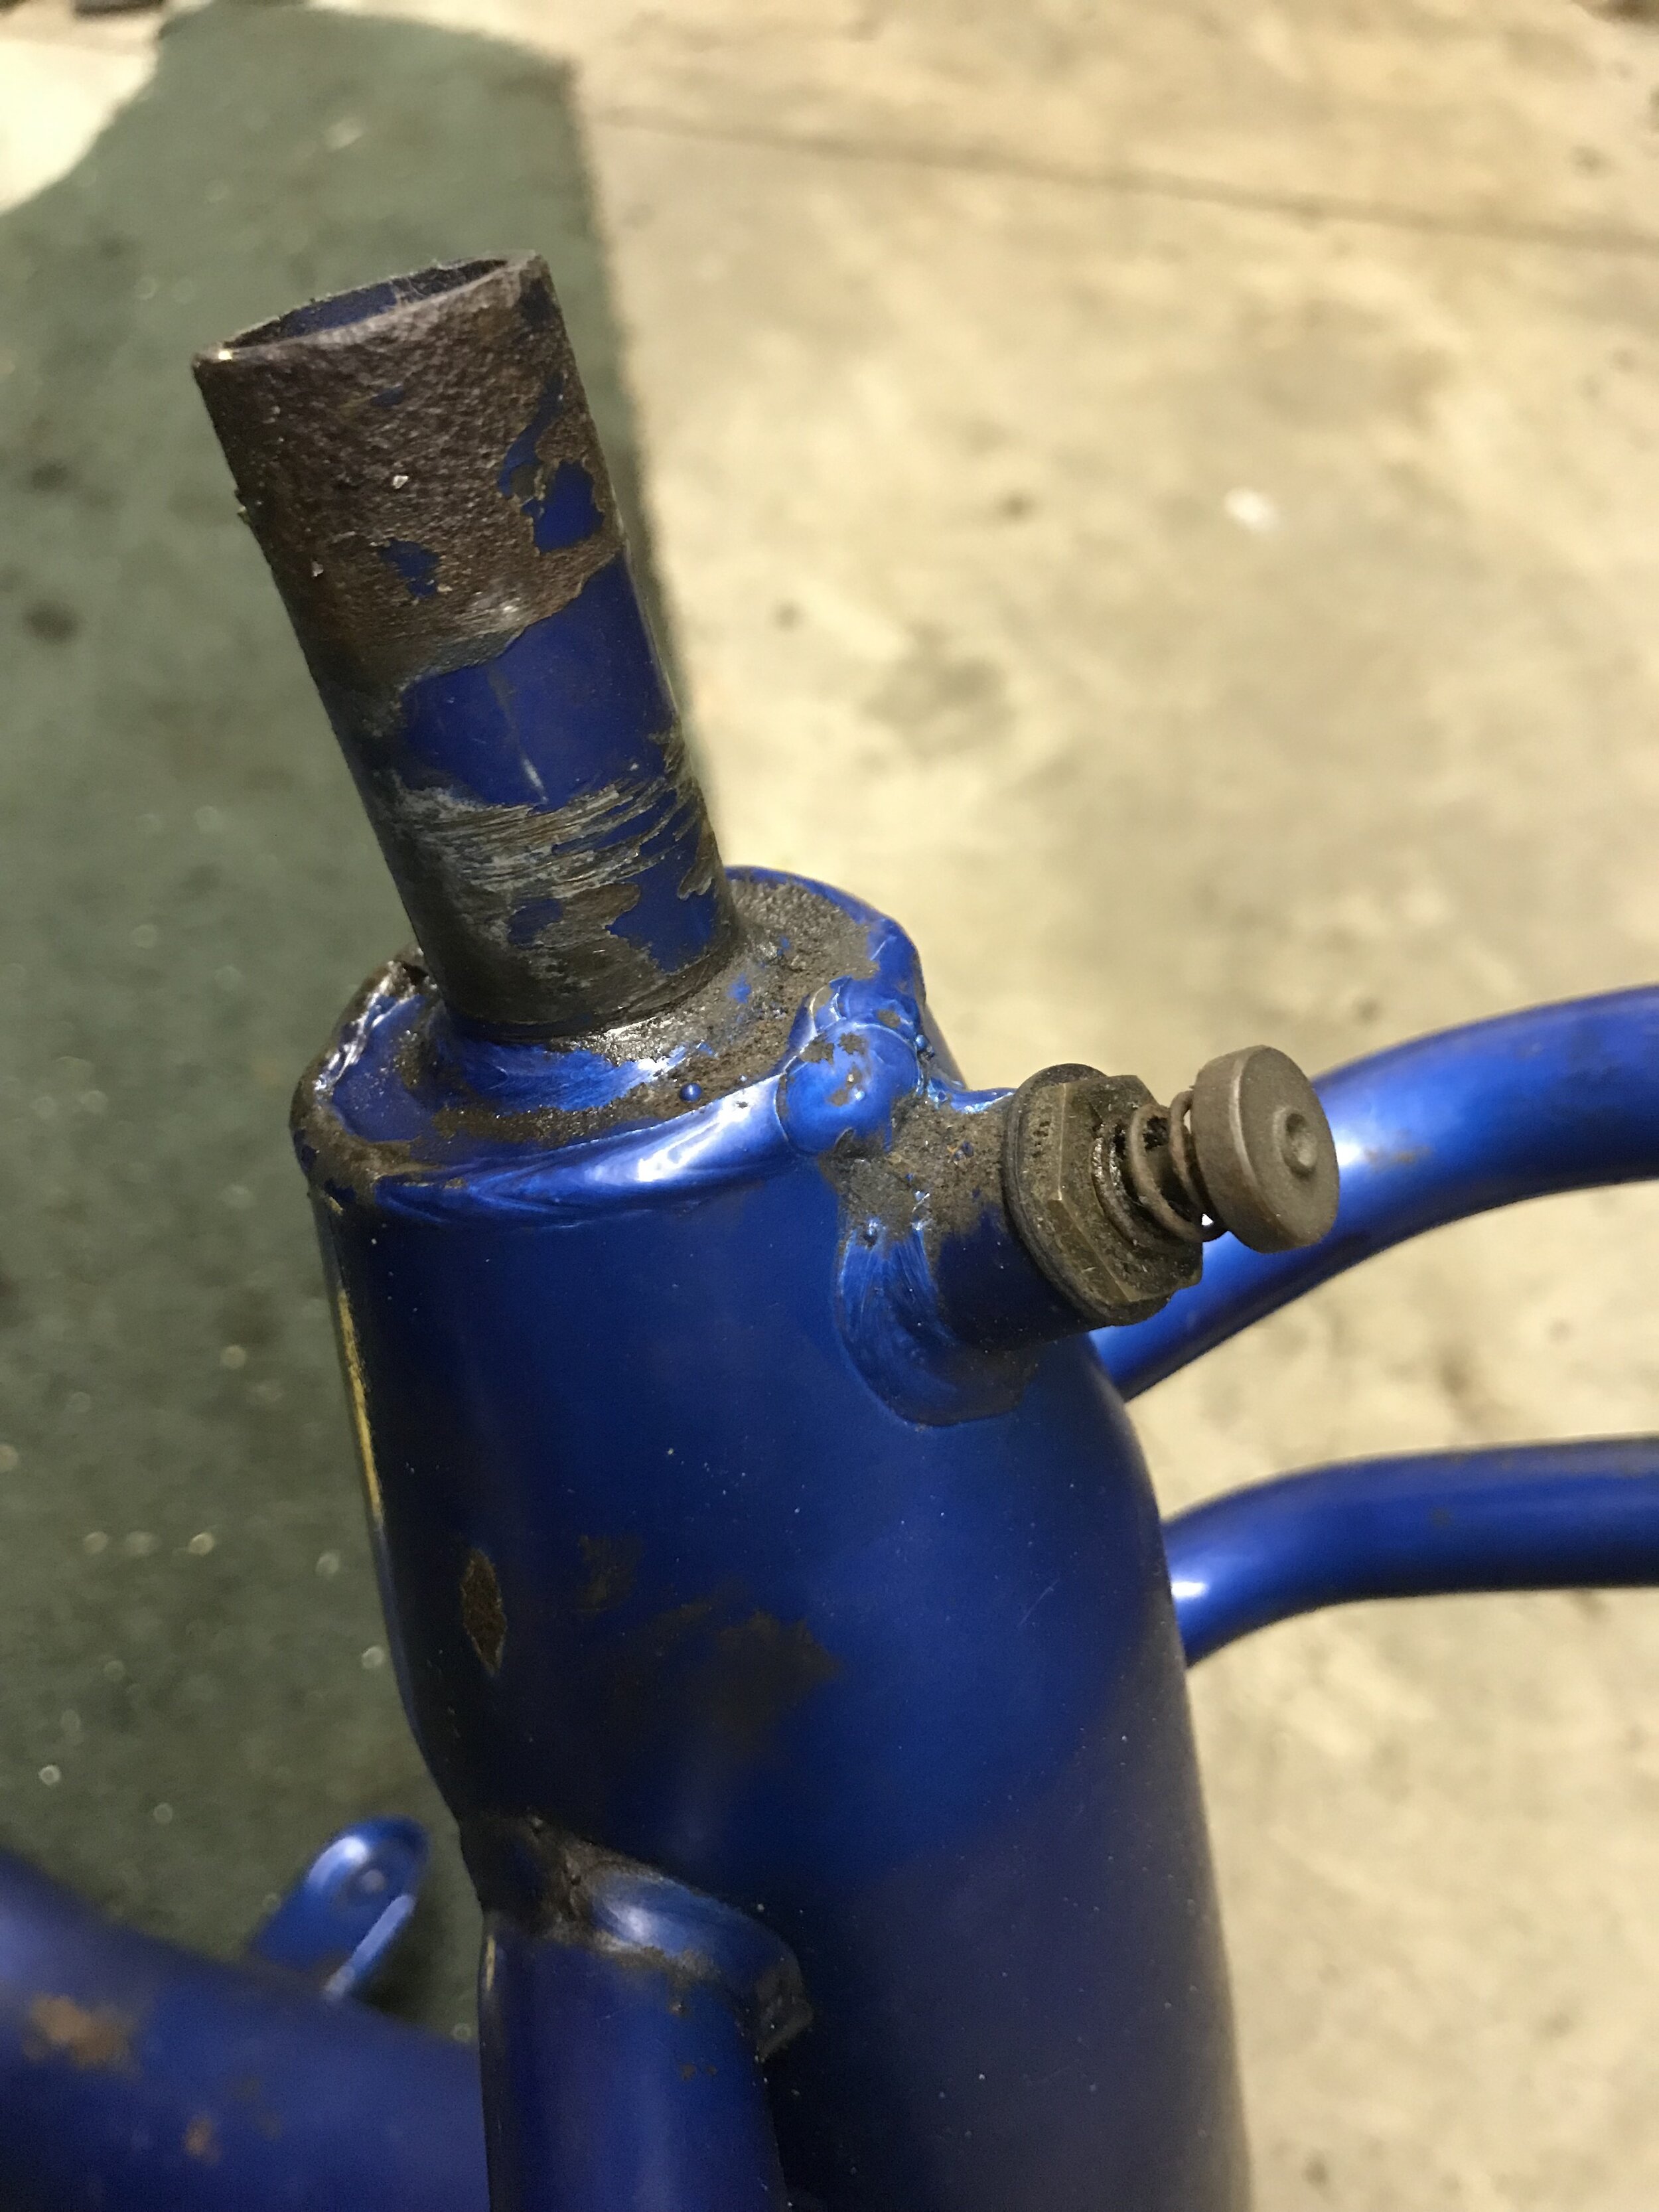
I painted the Frame and the horn cover the same color as the RV cab. I used the paint code from a Toyota Tacoma (Quicksand). It was a base and clear coat from Omni which is PPG’s lower end brand.
I needed a stand for assembly so I welded some scrap metal together. I didn’t have anyone around to help hold the Moped up to figure out the correct angle so unfortunately it doesn’t hold it level. I also think it is bit too high so I might cut it down later.


I wanted to switch out the stock speedometer with a temp gauge. The Trail Tech temp gauge doesn’t have a housing so I had to make one. I started with a piece of scrap 2x3” tubing. I would have liked to use a 3” steel tube but I didn’t have any and it was Christmas Eve and my steel place was closed. I designed the face plate on the computer and printed a template. I bought stainless steel buttons on Amazon. The two on the front are for the lights and the kill switch. The larger button on the left side is the horn.
The face plate is made from stainless steel. I am going to paint the housing beige to match the moped frame. I made the faceplate detachable so the wiring would be easier. I made the faceplate with a dremel, a bridgeport and an angle grinder so I might remake one with a water jet so it fits better in the 2x3.
At first when I mounted it, it was way to high so I just bent it down at an angle. The edges on the back were way to sharp too so I rounded them with an angle grinder. It should look much better after it’s painted. If not, I am going to make a new one with a 3” pipe.


I needed a new tail light so I ordered an $8 one off eBay. It was meant for a car but I think it will work just fine. I had to make a little bracket to attach it to the frame. I used some scrap stainless steel for the bracket and drilled and threaded the frame.


